Introduction
SIK has pre-defined skin graphics established to help get started. You can access these skin graphics by using the 'Wizardy' tool. This tool will allow you to select Andromeda's HMI displays, CAN data interfaces, and pre-defined skin graphics.
Video Overview:
| View file | ||||
|---|---|---|---|---|
|
Install SIK onto your workstation
- Go to the installation LINK to download the latest version of SIK and install the application.
- A shortcut link will appear on your workstation's desktop after successfully installing SIK.
- Launch SIK and you should see a similar screenshot as shown below.
...
The second page will offer a selection of data maps from supported battery management systems (BMS) and motor controllers. Your selections will determine which controller area network (CAN) messaging maps (.dbc files) are loaded onto the HMI display. You can learn more about CAN and DBC files here.
The default CAN baud rate is 250 kbps, but configurable options are 125 kbps, 500 kbps or 1 Mbps.
...
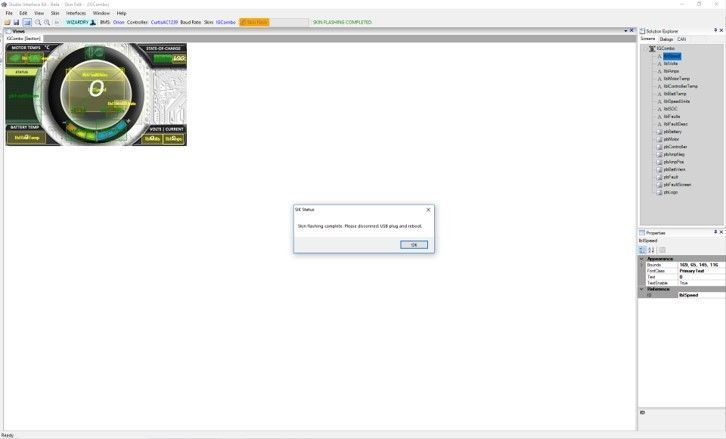
Your skin graphic shall now appear onto on SIK's main canvas as shown below.
...
3. After skin flashing has completed, a message box will appear indicating the status of the update. If successful, you can "UNPLUG" the USB cable from your HMI display and cycle power "OFF" and "ON".
| Tip | ||
|---|---|---|
| ||
The following steps are necessary for programming Intelli-Gauge with the USB cable provided in the 12-pin harness.
|
| Tip | ||
|---|---|---|
| ||
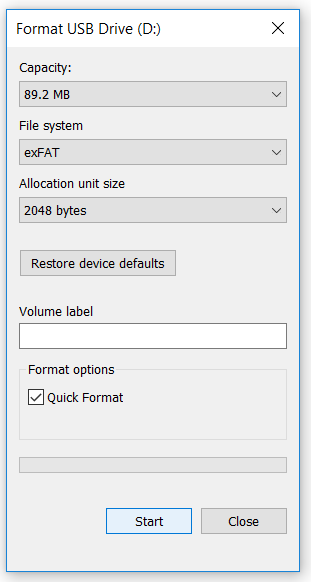
If the files do not transfer successfully to the display, the NAND flash may have corrupted. You can recover the NAND flash on the display by reformatting it.
1) Display USB Drive (NAND)
2) Format USB Drive (NAND)
|