Introduction
SIK has pre-defined skin graphics established to help get started. You can access these skin graphics by using the 'Wizardy' tool. This tool will allow you to select Andromeda's HMI displays, CAN data interfaces, and pre-defined skin graphics.
Video Overview:
Install SIK onto your workstation
- Go to the installation LINK to download the latest version of SIK and install the application.
- A shortcut link will appear on your workstation's desktop after successfully installing SIK.
- Launch SIK and you should see a similar screenshot as shown below.
How to use Wizardy Tool
The objective of the Wizardy tool is to help users get started with SIK by quickly loading pre-existing skin graphics onto your HMI display. There are a total of 4 screen pages within the Wizardy tool and they are described in more detail below.
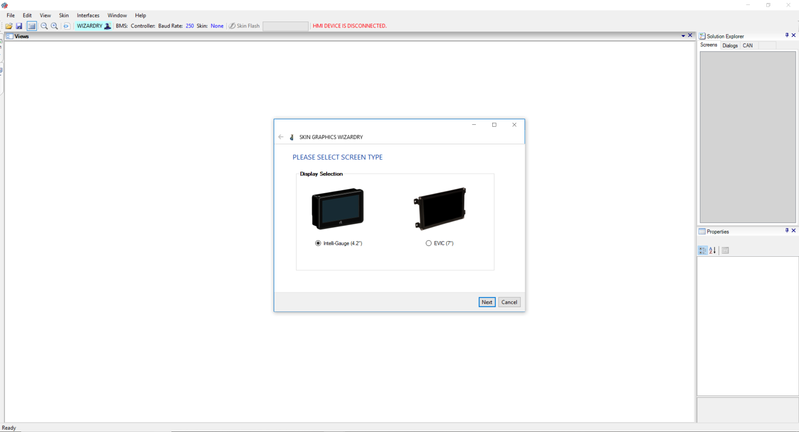
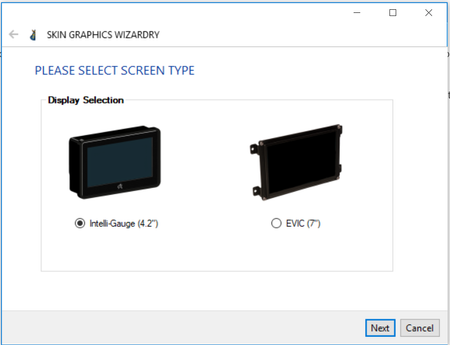
- Screen Types
The first page offers two options to choose between Andromeda's 4.2" Intelli-Gauge or 7" EVIC screens. You will need to select one of them before proceeding to the next page.
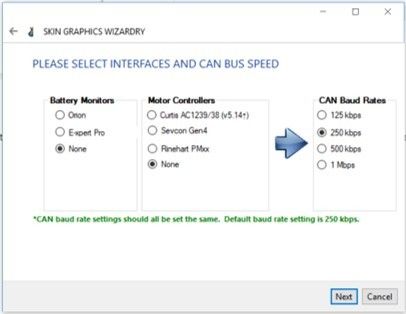
2. Data Interfaces and CAN Speed
The second page will offer a selection of data maps from supported battery management systems (BMS) and motor controllers. Your selections will determine which controller area network (CAN) messaging maps (.dbc files) are loaded onto the HMI display. You can learn more about CAN and DBC files here.
The default CAN baud rate is 250 kbps, but configurable options are 125 kbps, 500 kbps or 1 Mbps.
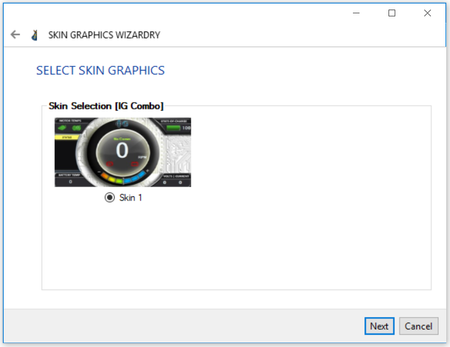
3. Skin Graphics
After selections are made from Page 2, Wizardy will decide which skin graphics are available and display them on Page 3. If multiple skin graphics are available to choose from, you will need to select one of them before proceeding to the final page.
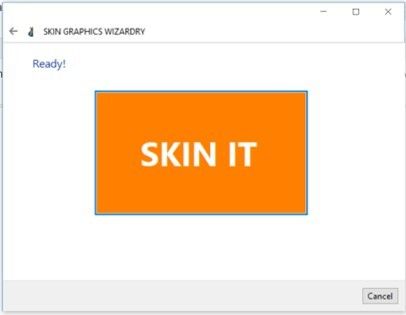
4. Launch
The final page will show a bright orange button labeled "SKIN IT".
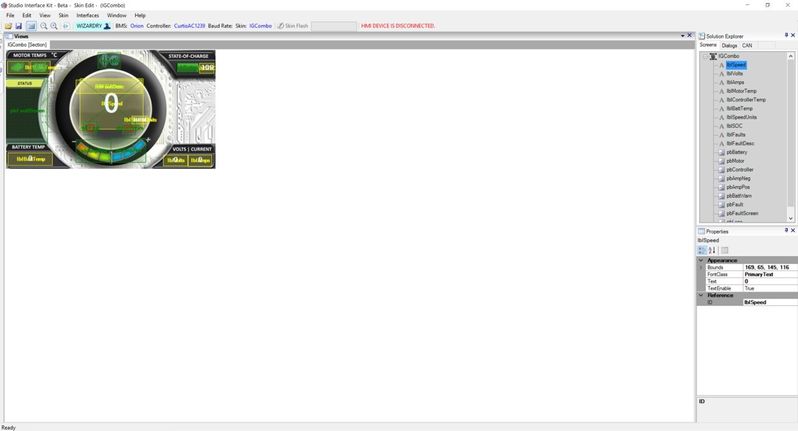
Your skin graphic shall now appear onto SIK's main canvas as shown below.
Deployment of Skin Graphics
To perform the deployment of the skin graphic onto your HMI display, the following instructions are provided:
- Insert a USB cable from EVIC or IG to a workstation with an installation copy of SIK.
- Launch SIK from the workstation.
- Power "ON" the HMI display.
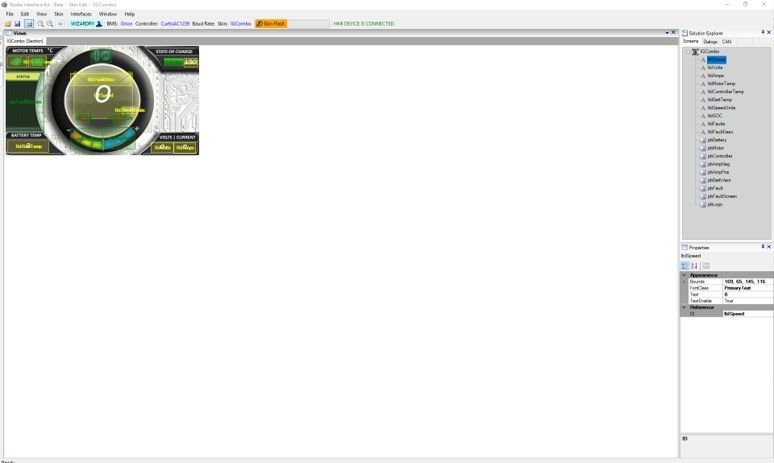
- Once SIK detects your HMI display, the top toolbar will indicate "HMI DEVICE IS CONNECTED" and the "Skin Flash" button will be enabled. Note: If it does not connect right away, unplug and reinsert the USB cable.
- Press the "Skin Flash" button and SIK will execute the update, and a progress bar will track the status.
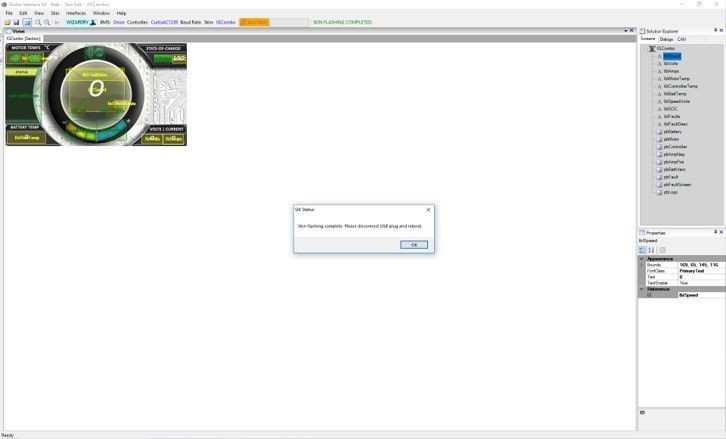
3. After skin flashing has completed, a message box will appear indicating the status of the update. If successful, you can "UNPLUG" the USB cable from your HMI display and cycle power "OFF" and "ON".